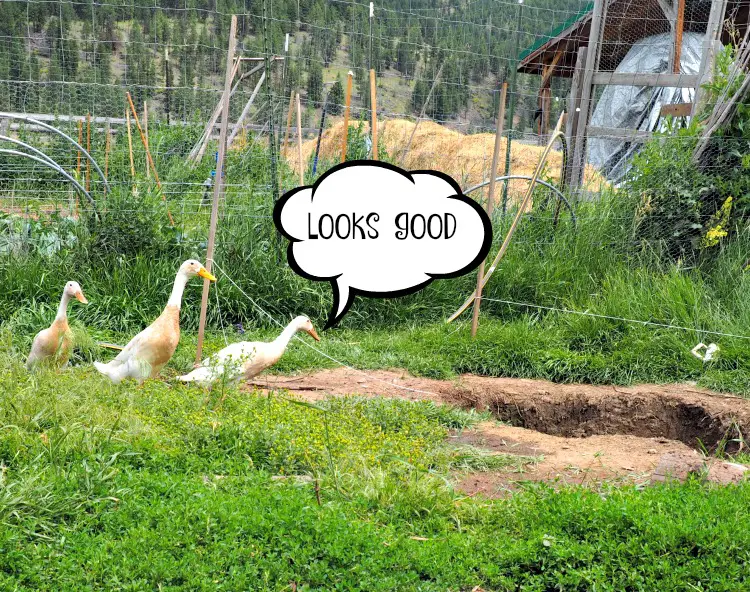
The Happy Ducks are getting a pond and they are thrilled. This post and the others in the series are brought to you by smartpond®
The work on the new duck pond was pushed back a bit due to some unusual weather for this time of year. July and August are about the driest months we have but this year’s weather blew the statistics out of the erm, water. We had a week of rain. In July. Which just does not happen. We had close to 3″ in one two day period. Needless to say the hubby could not be working on a duck pond in pouring rain, thunder and lightning. Now I am back with my post series on how to add a pond to your landscape plan.
Once things got back to normal he could resume his work - well, after he dealt with the weed wacking and picking the snowpeas. Life on a small farm in the summer is a never ending list of things that have to get done.
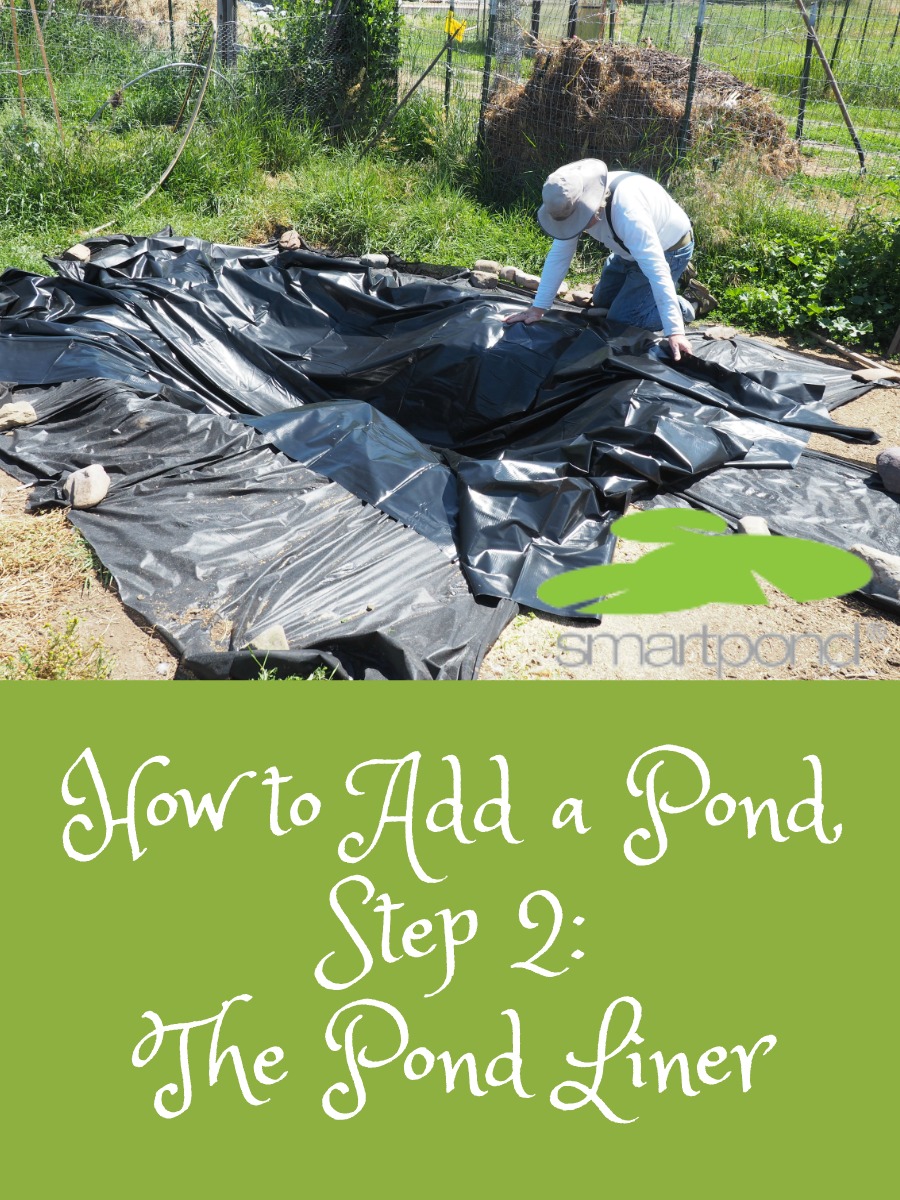
If you recall from the last post I showed you he had accomplished the first step in the pond process, digging a hole. This installment will take the process up to adding the pond liner.
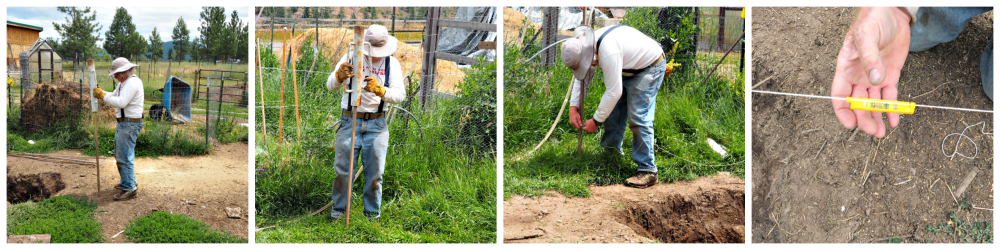
After the hubby dug the hole for the pond he knew he needed to make sure that the ground around the pond was level. To do this he pounded four stakes, one on each side of the hole. Then the tied string from stake to stake measuring the distance to the ground to make sure the string was the same distance. Then he put a string level on to see if the lines were level. If they were not he knew he had to add some dirt to even out the ground.
He also needed to make sure that one end of the pond was slightly deeper than the other for water flow purposes. He did this by simply measuring the depth of the hole at both ends an making the necessary adjustment. It didn’t have to be a big difference. This is important for placing the pump.
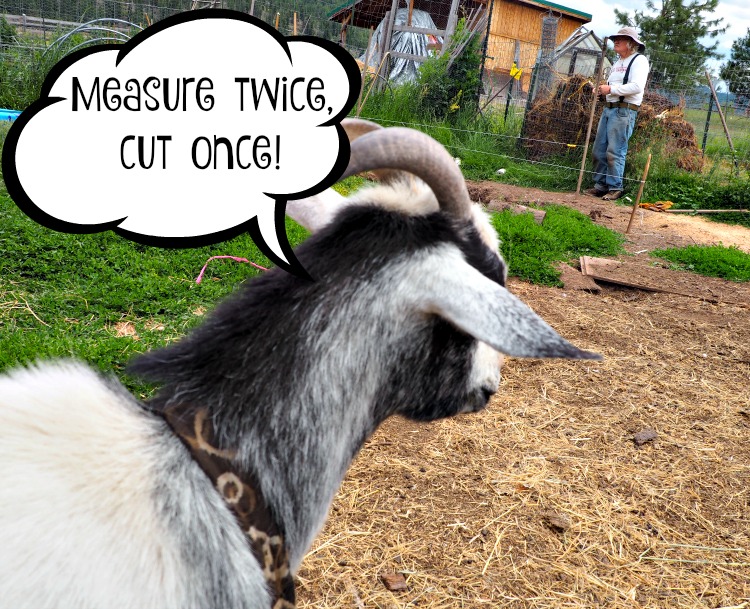
It did take a little time for him to get everything the way he wanted. And as per usual he had lots of help. The goats were quite interested in what was going on. I don’t know if they liked that he was banging stakes in the ground or what….
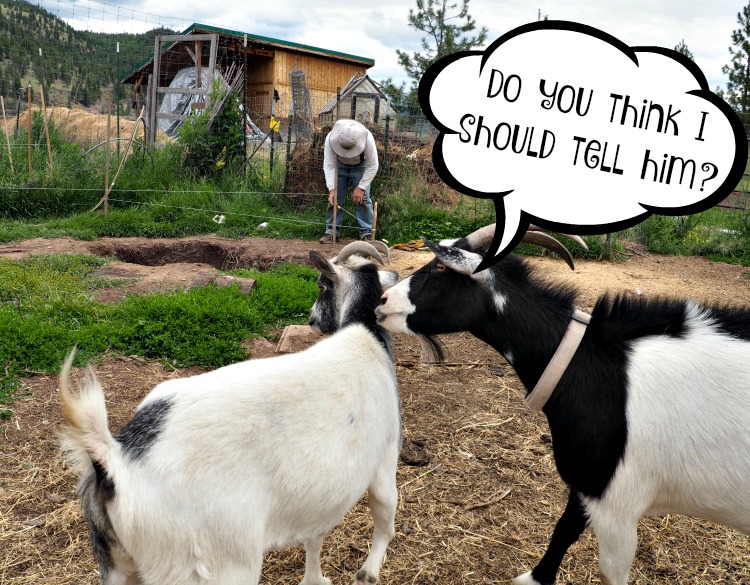
….but they were even more involved with this part of the project than they were with the digging of the hole. Especially Louise the goat. She really wanted to “help.” In fact she went so far as to offer some goat-vice.

I do not know that it was appreciated. I thinks she maaaaaaed something to the chickens after her input was rejected because they soon knocked down several of the strings that the hubby had worked so hard to tie up and get level! He had to reset them. I am surprised he did not reset the chickens!
The reason for the stakes and lines was so that he could make sure that the edge around the pond was level all around so that water would not spill out of one side or the other. He could then adjust by adding dirt to a low side to bring it up to match the other.
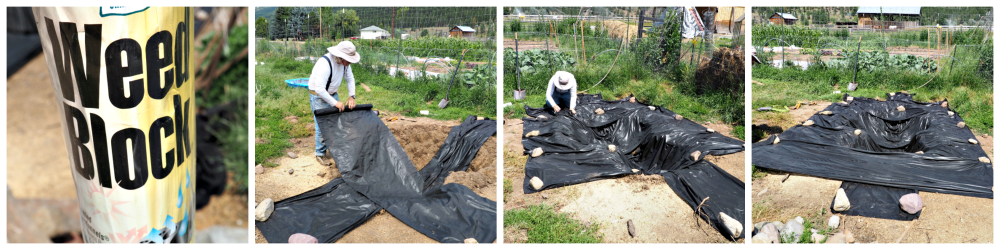
Once he had everything level he created a “shelf” about 4″ down on the inside of the pond. Then he covered the entire pond area with Weed Block. He did this because the area we are using for the pond is/was covered in weeds and he wanted to make it extra hard for them to come back. (Week Block is a light, plastic sheeting that keeps light from getting through. He cut sheets and carefully covered the whole pond and weighted it down with rocks.) This step would not be necessary for every project. Only if you are concerned about weed levels where you are building your pond.
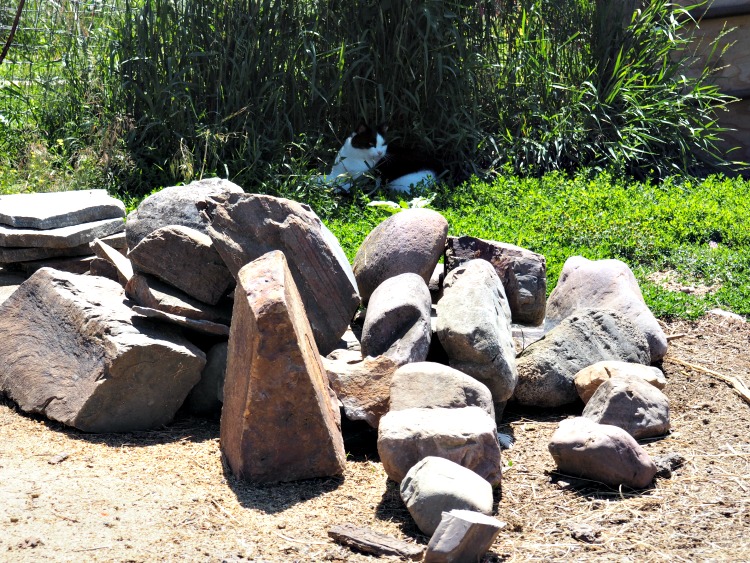
Speaking of rocks…he had quite a few here on the farm due to the makeup of our soil. Our little piece of paradise was once covered by Glacial Lake Missoula so it left us with rich soil and a lot of rocks. Every year the hubby still pulls a bunch from the garden. He’s been saving them for some purpose - now we know what! We also have some leftover slate from our hearth project in the yurt and that will get put to good use here as well.
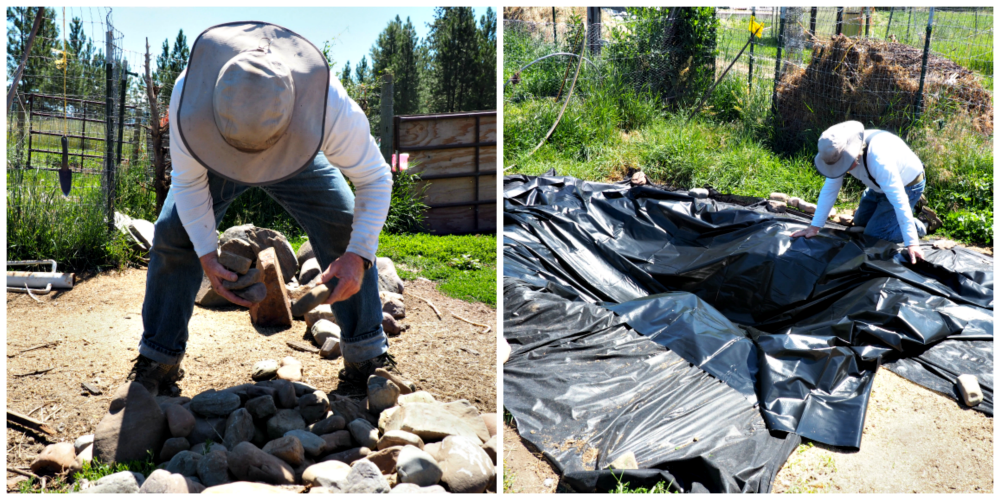
Once the Weed Block was down it was time to pull out the pond liner from smartpond®. He laid it out and carefully arranged it around the hole. He took his time with this so that it was pretty flat against the bottom and sides.

Then he went and got the pump, filter and waterfall to set them in place. Their installation and the filling of the pond will be the topic of the next post so be sure to come back for that! It will be fun to see the pond full of water and functioning. I know the ducks will be very happy to have it.

It will be interesting to see how the goats and certain Farm cats react to it as well. Harry loves to drink out of his fountain and this is going to be one BIG one so that should be fun.
You can find everything you need to add a pond to your landscape plan. smartpond has a pond calculator to help you get started. Their engineers were a big help in getting us what we needed for our project.
Please go to smartpond‘s website to find ideas for layouts, to ask questions and find some great DIY projects. You can use their pond calculator to figure out what you need for your specific pond project.
smartpond products are conveniently available at Lowes
YOU CAN LEARN MORE AT SMART-POND.COM
PLEASE FOLLOW SMARTPOND® ON FACEBOOK/TWITTER/PINTEREST/YOUTUBE/GOOGLE+
WHAT KIND OF POND FROM SMARTPOND WOULD YOU LIKE IN YOUR YARD?
BUILDING THE POND:
The Happy Ducks are Getting a Pond
STEP ONE – DIG A HOLE
STEP THREE – ADD THE WATER FILTRATION SYSTEM
STEP FOUR – ADD A DECORATIVE ROCK BORDER